Blog #5 – DUCT-PRO®: Cleaning the Return

Abatement Technologies® is the industry leader in quality duct cleaning solutions. Our high-performance DUCT-PRO® packages utilize HEPA-AIRE® equipment to clean HVAC duct systems faster and more efficiently than other methods. Abatement Technologies’ equipment uses our exclusive source removal duct cleaning process, meaning our equipment captures dirt and debris to provide complete air duct cleaning and decontamination. Our source removal duct cleaning process is designed to work with the tools and procedures professional duct cleaners need to follow the NADCA recommended steps for cleaning air duct systems effectively.

We have created a blog series based on our official DUCT-PRO® training videos to guide users through the proper DUCT-PRO® processes and procedures. In our last post, we covered the proper steps for agitation to remove debris and dirt from the ductwork. Here we’ll cover the procedure for cleaning the return.

Attaching the Vacuum

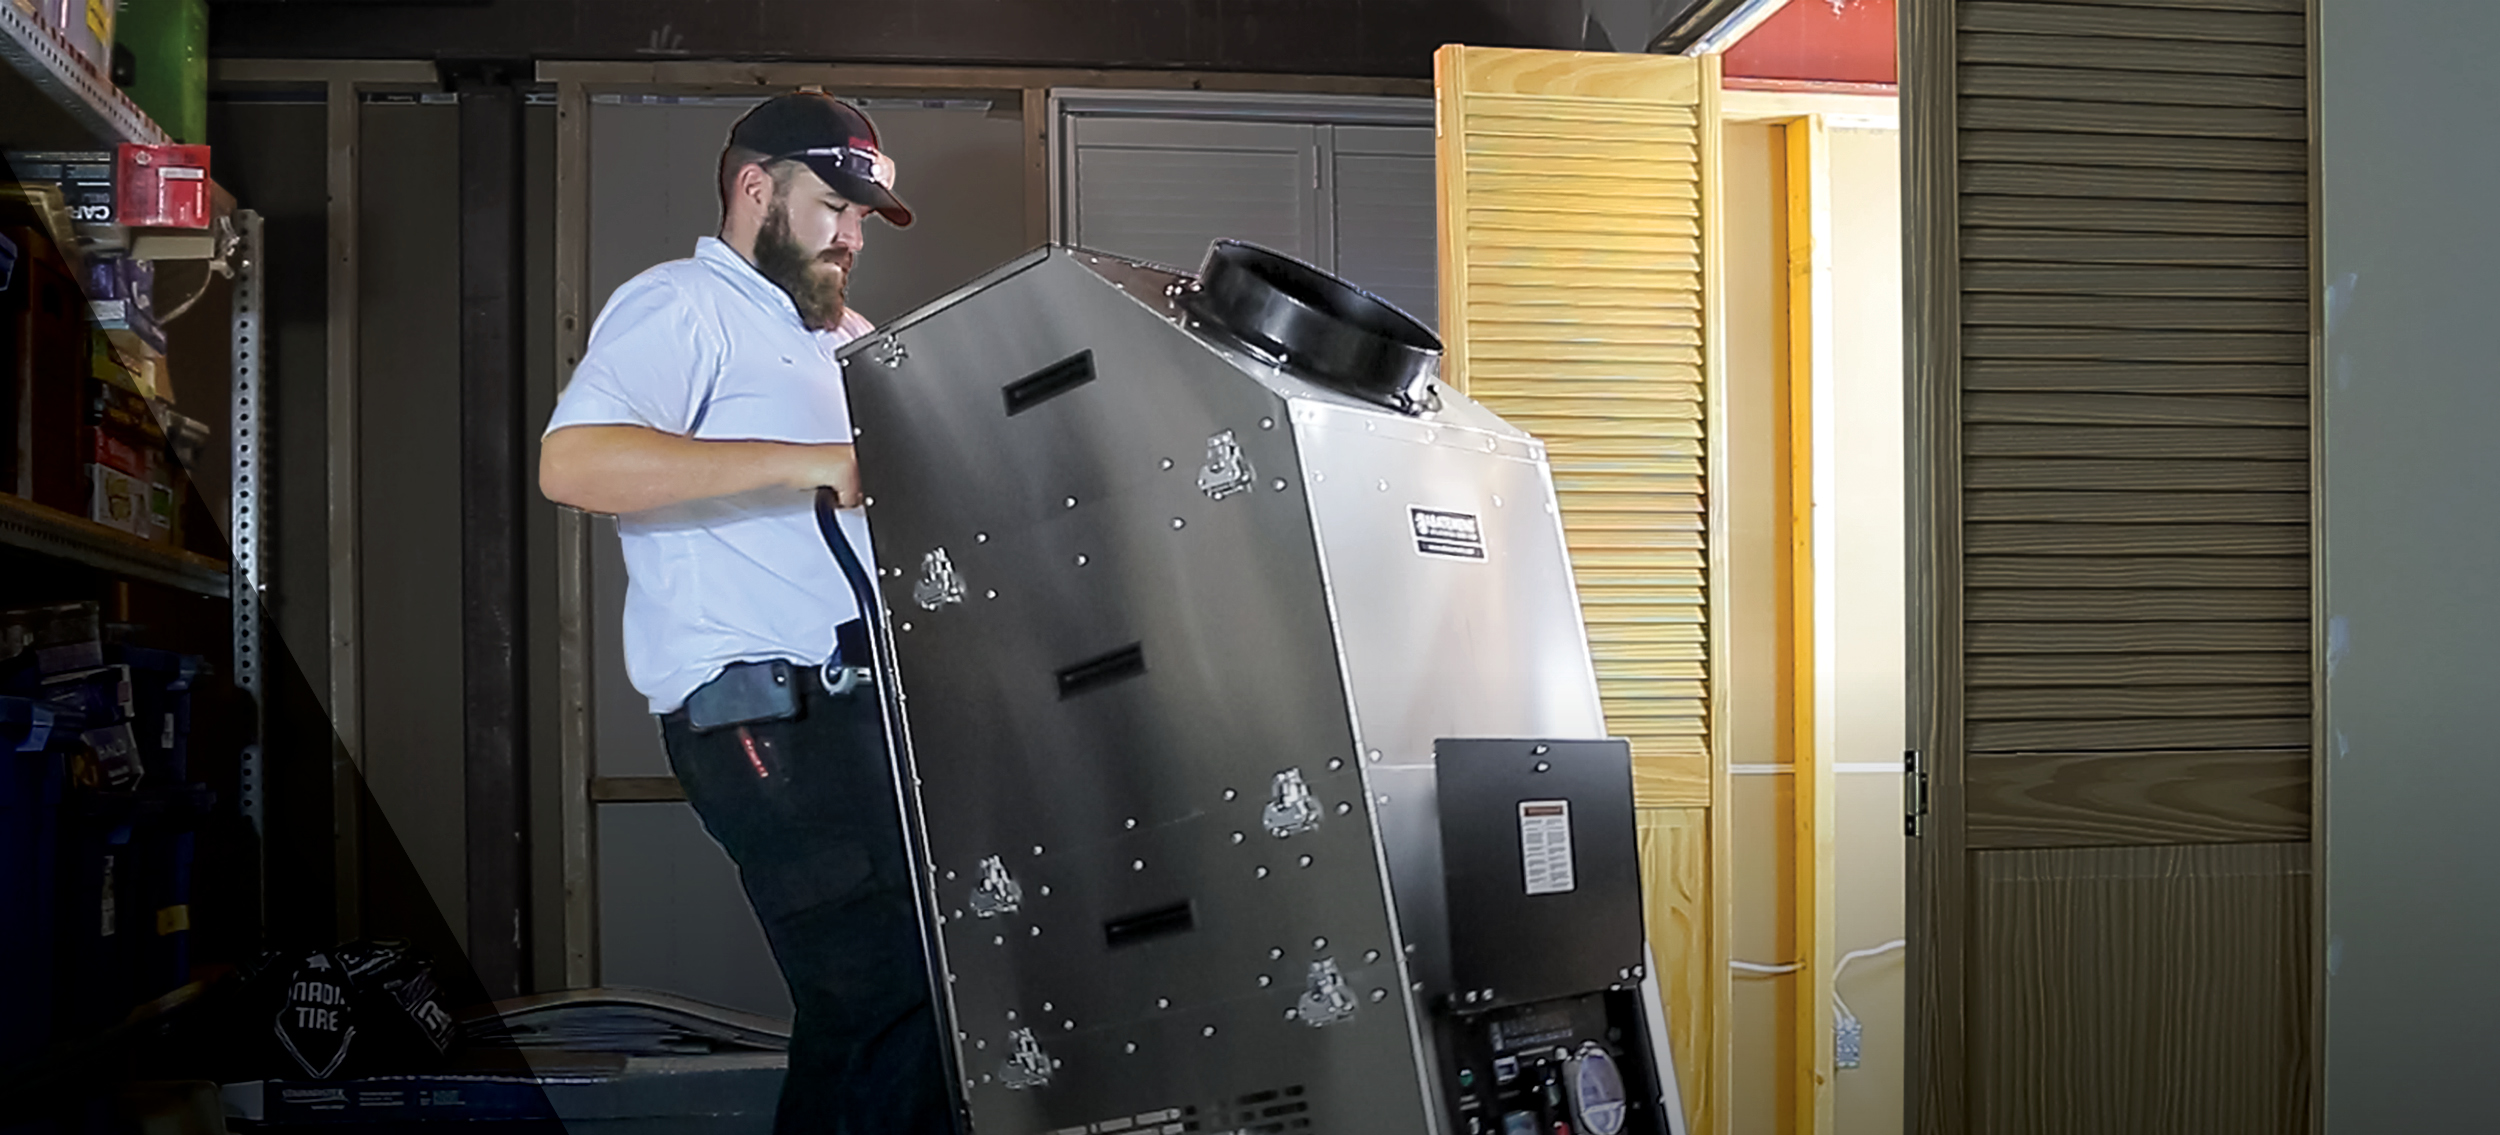
Check the power vacuum filters after the supply system has been cleaned and clean or replace them if necessary. It’s also a good idea to check the moisture filter and drain it if needed. After examining these areas inspect the ductwork and furnace layout to determine the best locations for hookups. Taking the time to complete this step now will save time later in the process.

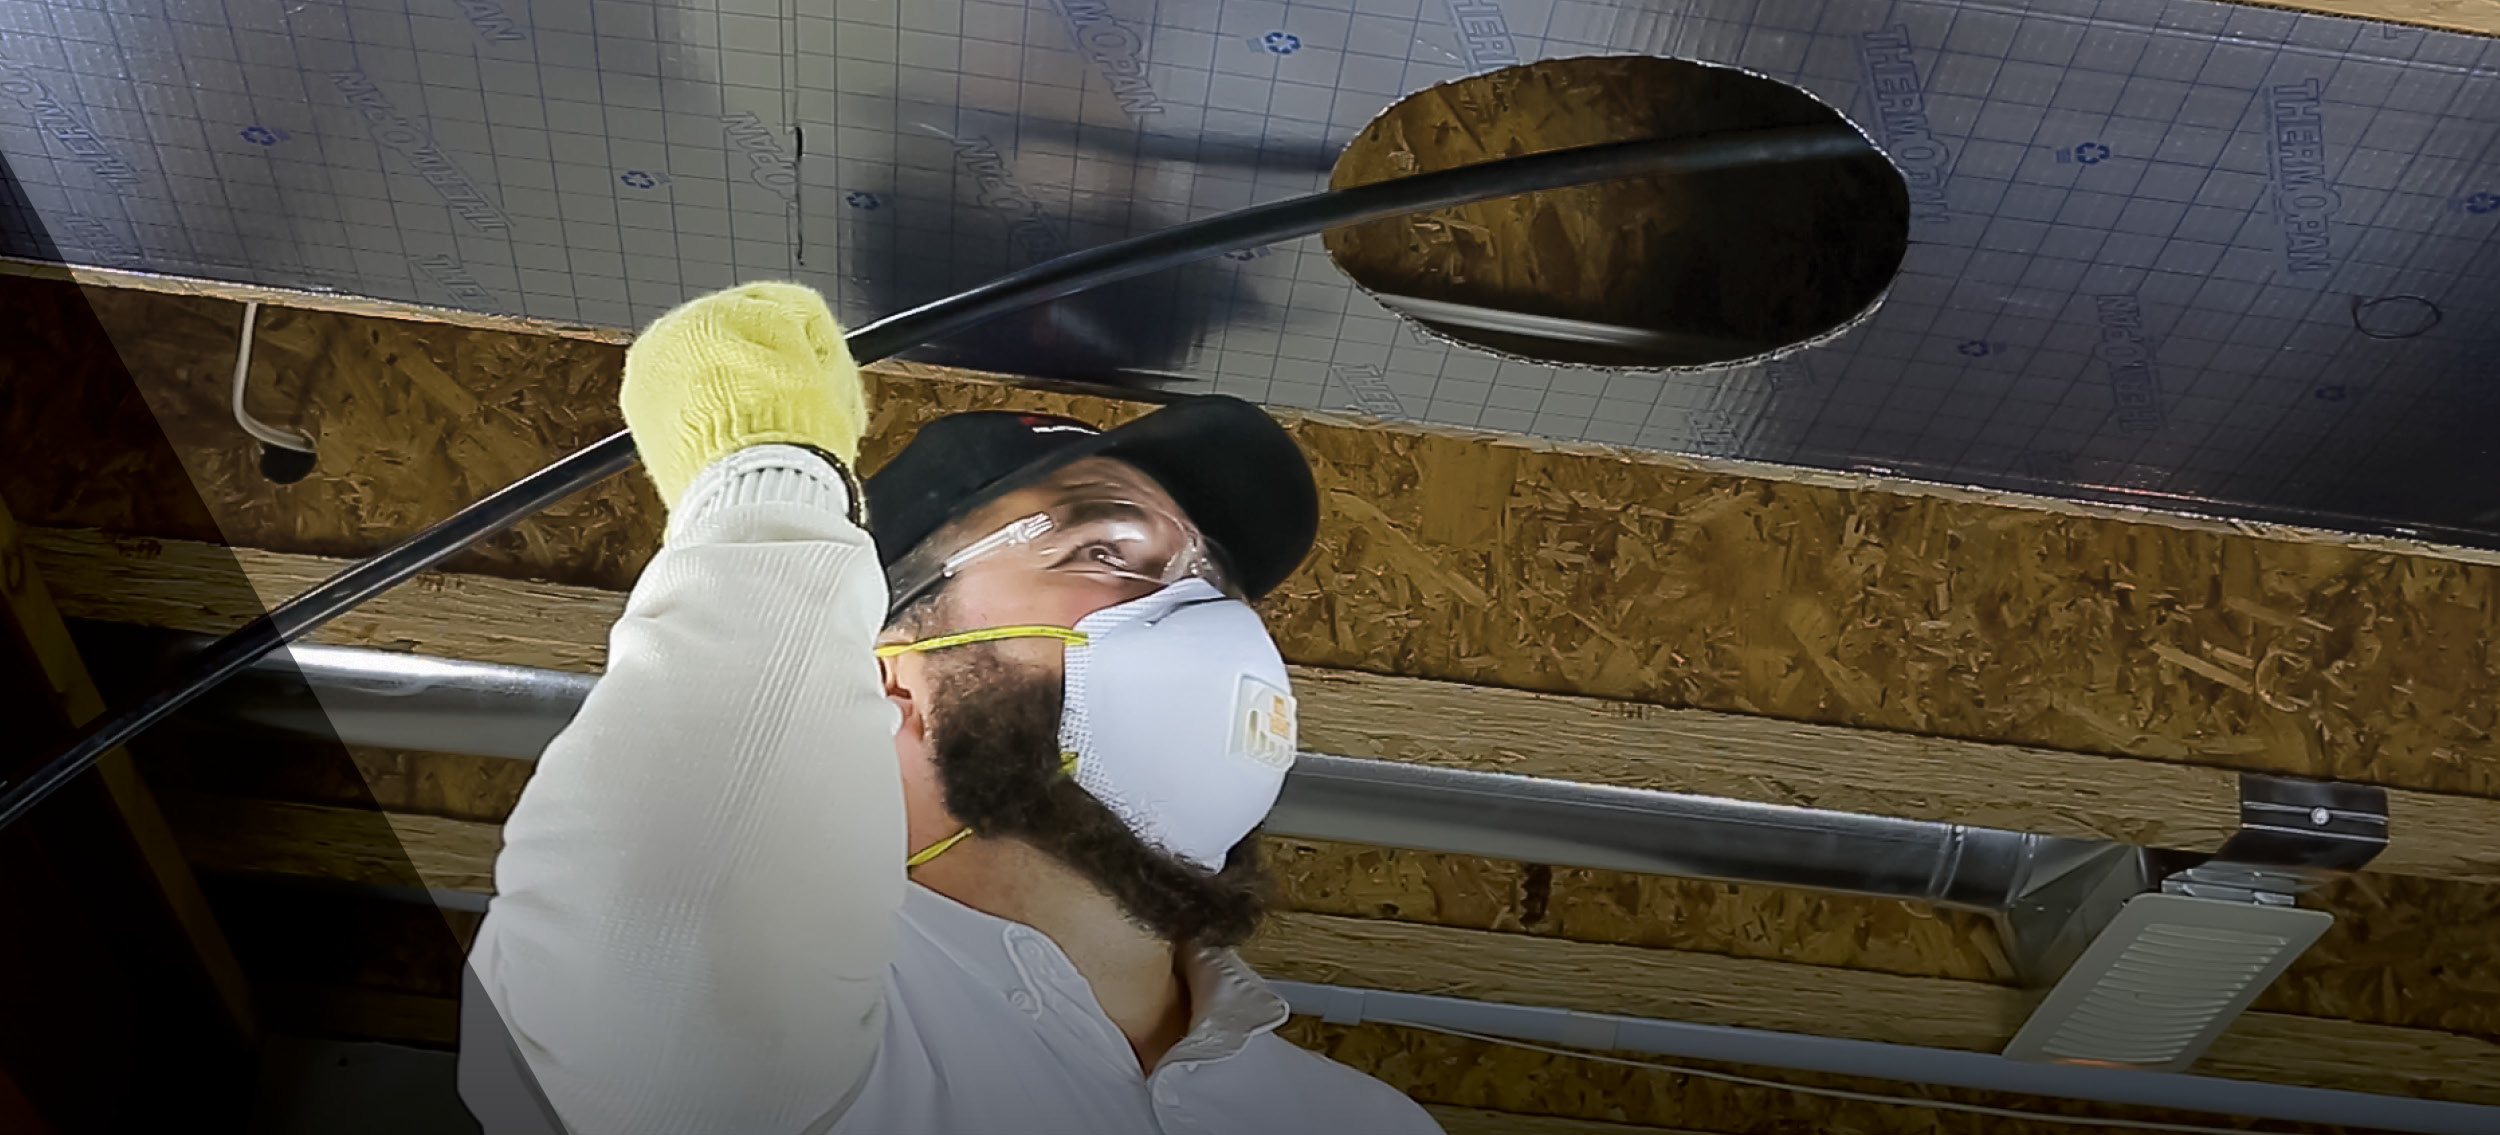
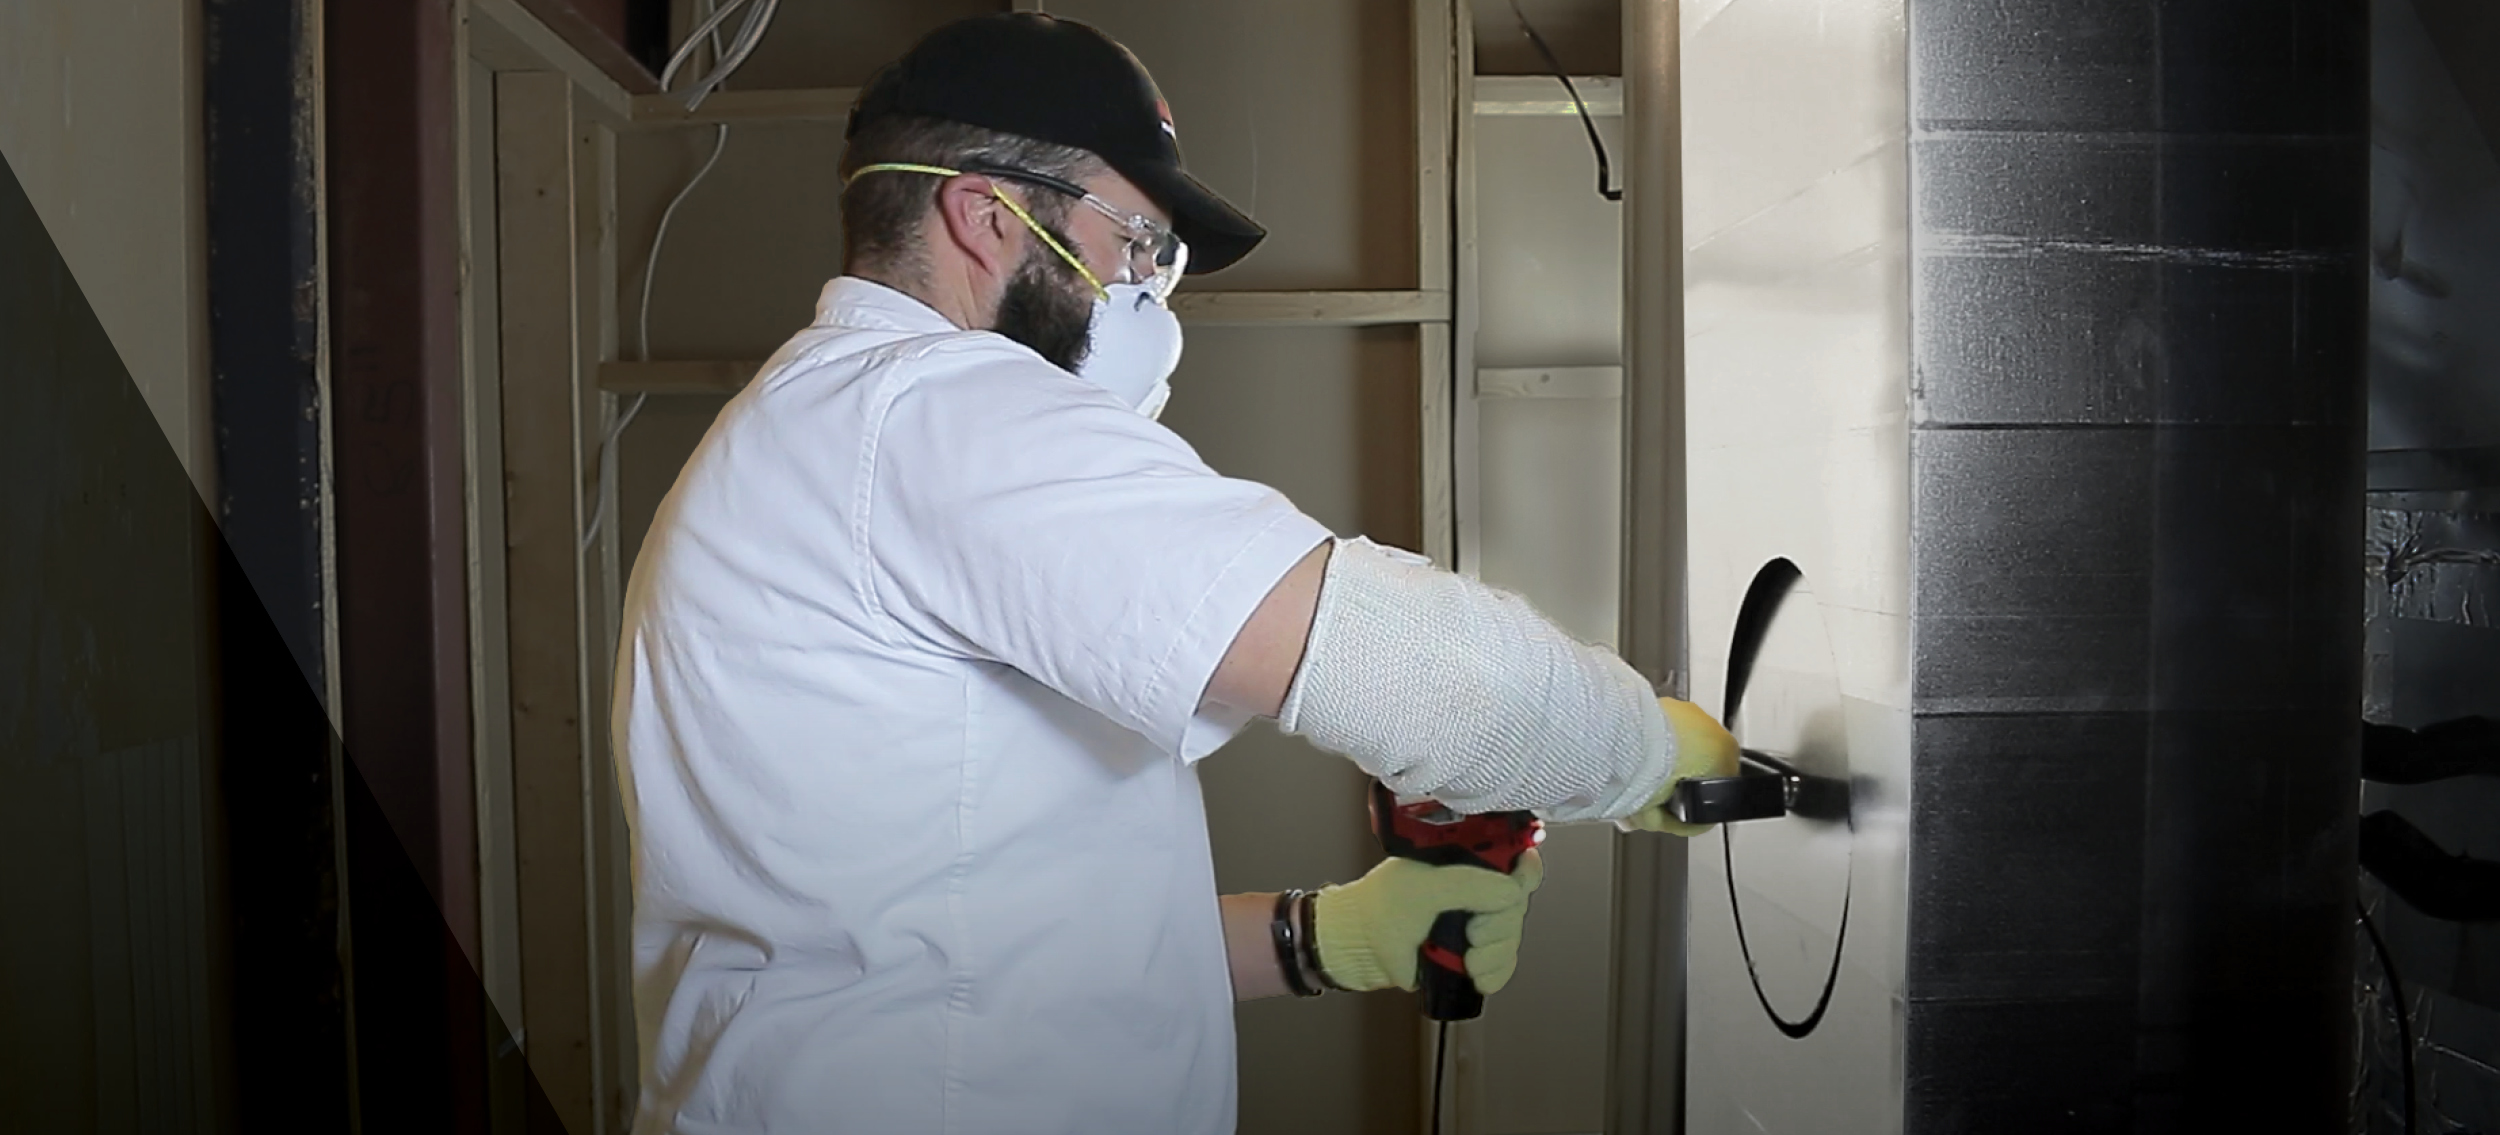
To attach the vacuum, the duct cleaning professional will cut a hole in the return plenum on the upstream side of the filter and then attach the quick connect collar. The filter should be removed if it is upstream from the vacuum hose. Then the zone bag can be put in the main duct above the coil, preventing air from being pulled through the previously cleaned supply side of the system.

Cleaning the Return 

The return duct system should be cleaned using the same procedures that were used on the supply side. Duct cleaning pros should keep in mind that return systems are typically much dirtier than the supply side and require more brushing and air sweeping. It’s important to properly clean the equipment after use. Place the air hose from the power vacuum in the blower compartment and air wash the blower compartment with the DUCT-PRO® air booster gun when all the duct work has been completely cleaned.

Sanitizing can begin once the return is clean, it’s important to read the label and follow the manufacturer’s directions accurately before using any sanitizer. Be certain the product has an EPA registration for its intended purpose, follow the manufacturer’s recommendations regarding personal protective equipment (PPE), and ensure all grills and registers are covered before sanitizing. Adding a drop cloth around the work area to prevent damage to the flooring surfaces is also a good idea.

Air Duct Sanitizing 

These instructions are for non-porous duct systems. Due to the porosity of the material, there are no sanitizers with EPA registration for use in porous ductwork such as duct board or lined duct.

The sanitization process is generally conducted using a ULV fogger which produces a variable flow from light fog to a heavy mist, adjusted at the nozzle. The correct output is a mist that will quickly wet the entire surface without creating puddles.

A good practice is to fog the branch runs with slight negative pressure in the duct system. This not only helps pull the fog through the ductwork but also helps to prevent the sanitizer from entering the room, and can be accomplished by attaching the vacuum to the original hookup point. If the duct system is small, adjust the airflow of the DUCT-PRO® HEPA-AIRE® vacuum for better coverage before fogging. Allow all surfaces to dry before restarting the air handler.

Want to learn more about our DUCT-PRO® equipment and packages? Click here - https://abatement.com/usa-duct-cleaning-process/


Blog Series #4 – DUCT-PRO®: Agitation

Abatement Technologies® is the industry leader in quality duct cleaning solutions. Our DUCT-PRO® source removal cleaning packages utilize our HEPA-AIRE® equipment to clean HVAC duct systems faster and more efficiently than other methods. Abatement Technologies’ equipment uses our exclusive source removal duct cleaning process to capture dirt and debris and provide complete air duct cleaning and decontamination.

Our source removal duct cleaning process is designed to work with the tools and procedures professional duct cleaners need to follow the NADCA recommended steps for cleaning air duct systems effectively. We have created a blog series based on our official DUCT-PRO® training videos to guide users through duct cleaning processes and ensure the equipment is used properly and efficiently.

We’ve looked at the methods for duct cleaning and air sweeping in our previous posts. 

In this installment, we’ll cover agitation—a process for dislodging the extreme buildup of debris prior to air sweeping.

Methods for Agitation 

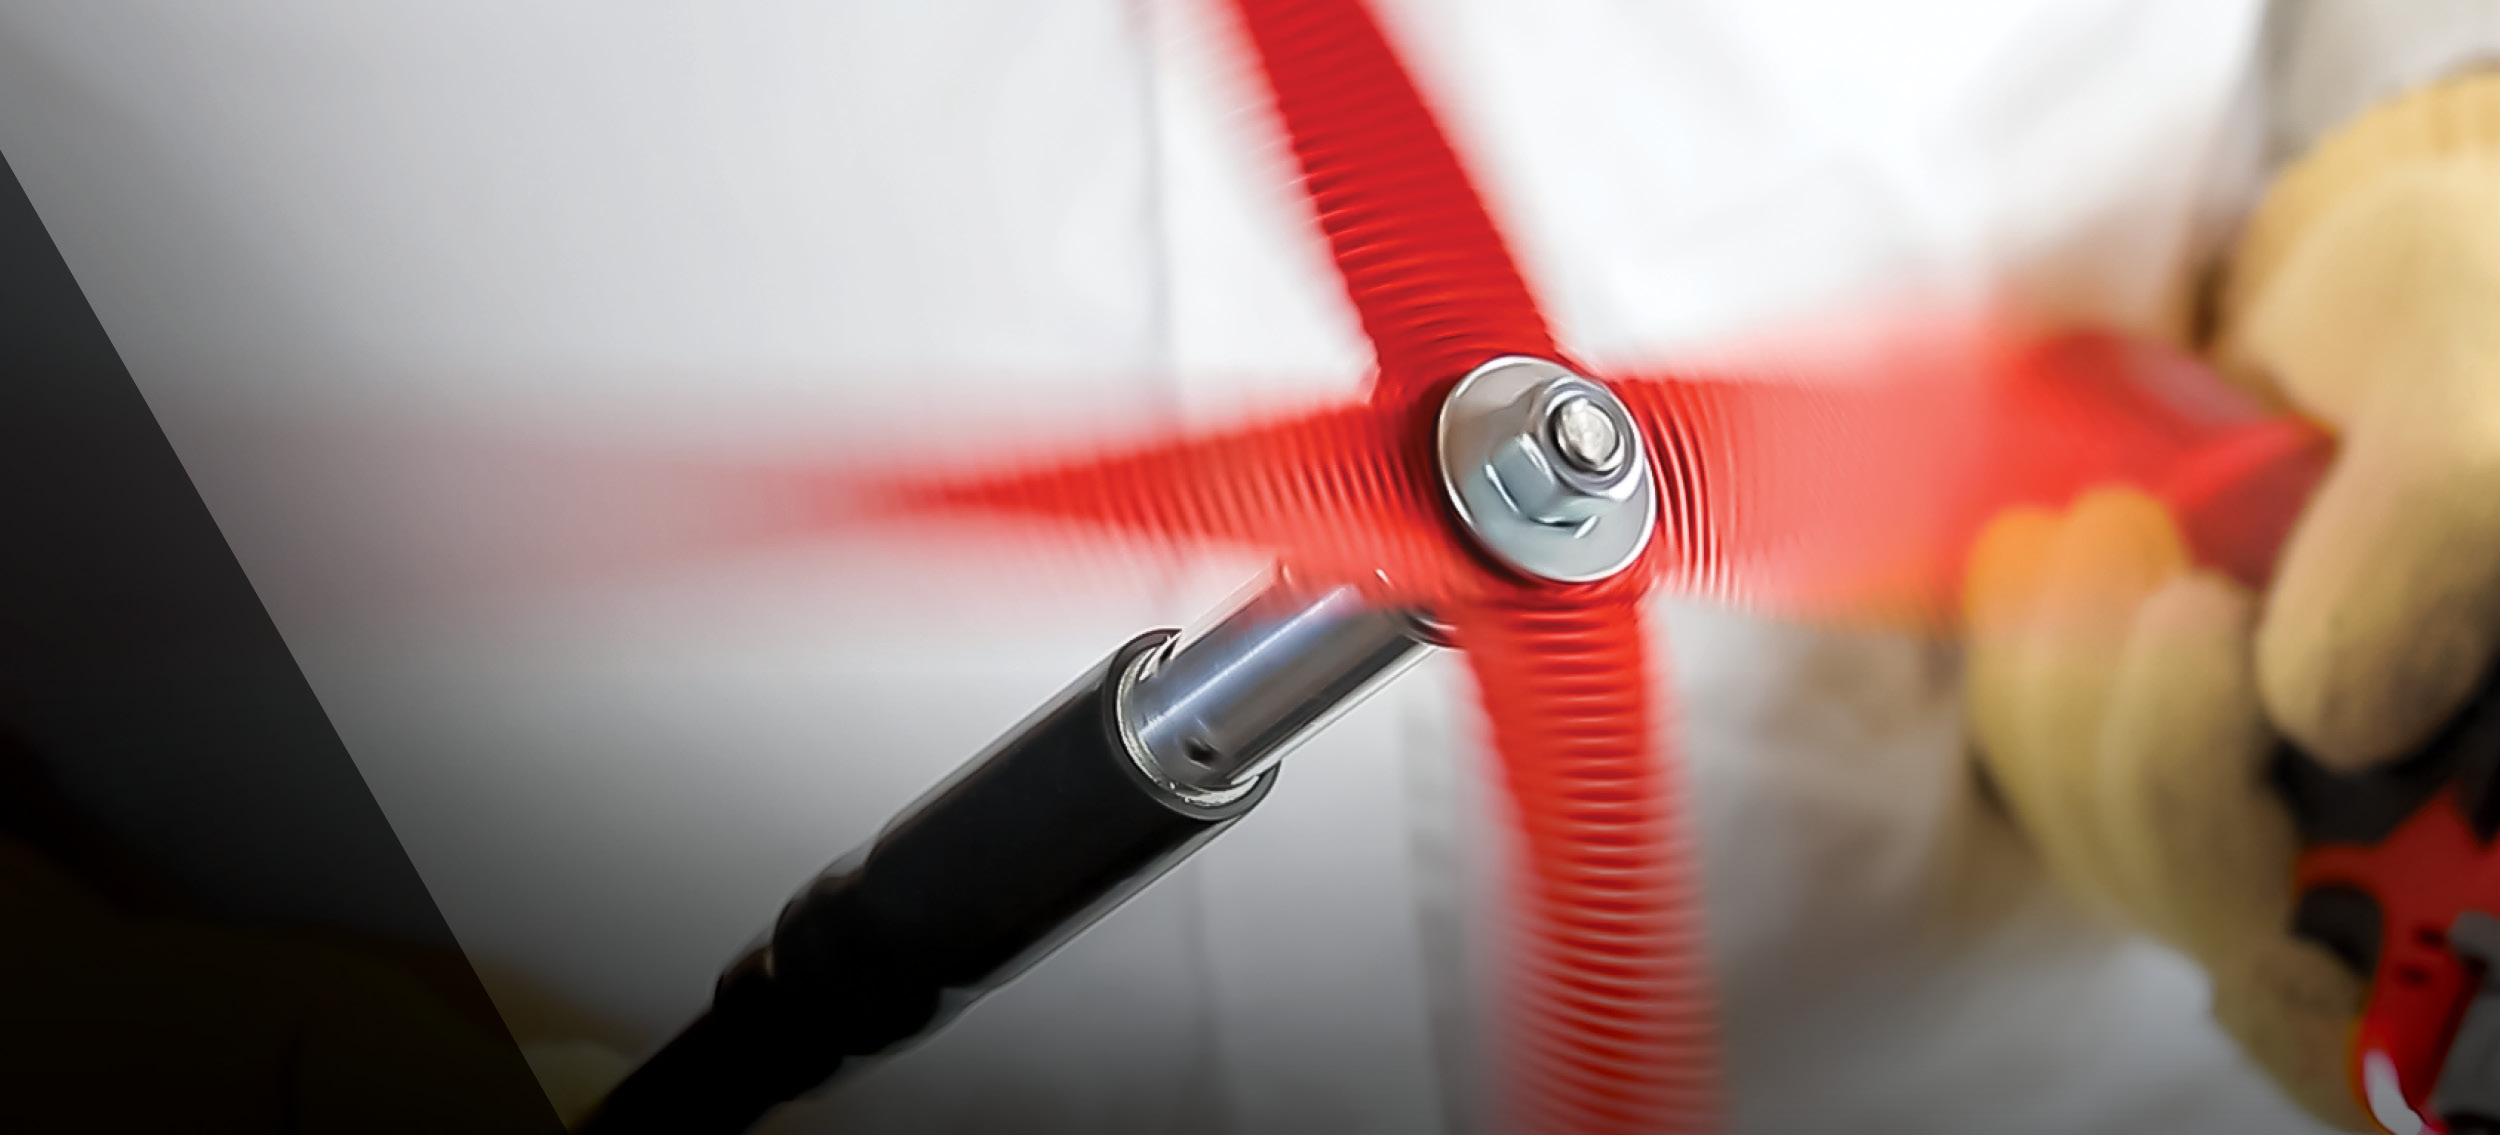
Manual brushes or whips with add-on rods are some of the most used tools and methods for agitation. The procedure is similar to chimney sweeping, with the brushes swept horizontally instead of vertically. The DUCT-PRO® power rod system is used with compressed air and has lengths of connected rods with three different flexibilities. Each rod has a special fitting that connects to various whip heads.

The DUCT-PRO® power brush system is a powerful method of agitation in large ducts and for commercial applications. This system is driven by its own power source and enables the use of both compressed air and brushes for optimal performance. The remote-control setting allows cleaners to operate the compressed air, rotation, and speed functions. The brushes can be turned both clockwise and counterclockwise to clean both sides and bottom corners. 

There are many advantages to the system, including brushes of different sizes and bristle stiffness designed for various duct types. The softer brushes should be used for inline duct and duct board and stiffer bristles for metal. It is important to do a thorough examination prior to cleaning to determine the condition of the ductwork. 

The DUCT-PRO® power brush system offers contractors the unique capability to use both forward and reverse compressed air, allowing cleaners to brush and air sweep at the same time.

Power brushing eliminates the need for an extra access hole and speeds up the cleaning process while producing excellent results. 

We’ll explore the proper steps for cleaning the return side of the ductwork in our next blog.

Want to learn more about our DUCT-PRO® equipment and packages? Click here - https://abatement.ca/duct-cleaning-process/

Blog Series #3 – DUCT-PRO®: The “Push” Method

Abatement Technologies® is the industry leader in quality duct cleaning equipment. Our DUCT-PRO® source removal duct cleaning process provides contractors with the tools needed to follow the NADCA recommended steps for cleaning air duct systems effectively. With DUCT-PRO, contractors can benefit from a faster and more efficient cleaning process and customizable duct cleaning packages, and Abatement Technologies® can help contractors select a package that is suited to their needs.

It’s important to understand the role each piece of equipment plays in the duct cleaning process to ensure their efficiency and proper use. In previous blogs, we’ve explained the necessary equipment and prep work and the process for cleaning the HVAC supply. In this blog, we’ll explain the methods for duct cleaning, beginning with the “push” method. 

Conducting the “Push” Method

Once the grills have been covered in the preparation stages, duct cleaning professionals can begin the “push” step of the process using specialized air tools and nozzles operated by the DUCT-PRO® AIRE-SWEEP® portable air compressor. The duct cleaning professional should give the furthest grill an initial air wash using a light blast from an air booster gun, then clean the entire grill completely. In this step, many duct cleaners will also wash and sanitize the grills.

The branch duct will then be cleaned using a forward air sweep. This step uses a nozzle that has holes pointing in a forward direction, which pushes the debris forward toward the main duct and to the power vacuum. Forward air sweeping should be done until the branch is clean. Another common method of branch cleaning is the reverse air sweep method, which is usually done if the ductwork is in the basement and affords easy access. 

Once each branch is clean, the grills should be replaced and the main duct can be cleaned. This process typically involves the use of the reverse air sweep.  However, in an attic or crawl space, the forward air sweep is used. 

Cleaners will often need to air sweep each section of the ductwork several times before they’re considered clean. The cleaners will know the section is clean when they no longer hear or see debris being pulled through the clear power vacuum hose.

In the event of extreme debris, agitation may be required to dislodge the buildup prior to air sweeping. We’ll explain the proper tools and systems for agitation in our next blog.  

Want to learn more about our DUCT-PRO® equipment and packages? Click here - https://abatement.com/usa-duct-cleaning-process/ 

Blog Series #2 – DUCT-PRO®: Cleaning the Supply

Abatement Technologies® is leading the duct cleaning industry with our quality equipment and innovative solutions. Our DUCT-PRO® source removal duct cleaning packages provide the tools professional duct cleaners need to follow the NADCA recommended steps for cleaning air duct systems effectively.

Our DUCT-PRO® cleaning process has been designed to create new business opportunities for contractors. It is faster and more efficient than other solutions on the market, and our customizable duct cleaning packages can accommodate each contractor’s unique requirements. We have developed a process to ensure duct cleaners select the right package for their needs and can customize everything from the vacuum to the AIRE-SWEEP® portable air compressor, agitation devices, and accessories.

It’s important to understand the role each piece of equipment plays in the process to ensure their efficiency and proper use. Our team of Aire Guardians at Abatement Technologies have® created a video series to provide users with the information needed to clean HVAC duct systems quickly and efficiently, leading to a profitable indoor air quality business. 

To accompany the training videos, we’ve created a blog series to help break down the steps and process for using DUCT-PRO®. In our last post, we covered the proper protective equipment and prep work needed to efficiently clean ducts. Here we'll discuss the proper steps for cleaning the supply side of the ductwork. 

Steps for cleaning the supply

The duct cleaning professional will prepare to clean the supply side by cutting a 12-inch access hole.  If cutting a 12-inch hole is not possible, the largest possible size should be cut, keeping in mind that the larger the hole, the better the airflow. If the duct is constructed with duct board instead of sheet metal, it's important to hold the hole cutter blade at a 45-degree angle (similar to cutting the top off of a pumpkin) to achieve a good fit when replacing the piece at the end of the project. 

This access hole is typically cut into the plenum, as high above the coil as possible. Sometimes, the hole is cut into the main duct close to the plenum. It’s important to cut the hole high enough that the cutting doesn’t damage the coil. It’s a good idea to protect the coil by covering it with a tarp or piece of plastic to prevent debris from falling into it during the cleaning process. 

Once the access holes are made, a quick connect adaptor is screwed over the holes using zip screws to hold it in place. The contractor will then use flexible ducting to attach the quick connect collar which will be held in place using the locking collar. Duct tape can be used in this step to attach the quick connection to the duct board. 

The contractor should check all damper settings in the branches and main ducts before beginning the cleaning process to ensure they are all open. With the DUCT-PRO® power vacuum connected to the supply, the duct system can be turned on to create a strong airflow through its supply.

In our next post, we’ll share how to properly conduct the push method in duct cleaning. 

Want to learn more about our DUCT-PRO® equipment and packages? Click here - https://abatement.com/usa-duct-cleaning-process/ 

Blog Series #1 – DUCT-PRO®: Preparing for the job

Abatement Technologies® is the industry leader in quality duct cleaning solutions. Our high-performance DUCT-PRO® packages utilize HEPA-AIRE® equipment to clean HVAC duct systems faster and more efficiently than other methods. Abatement Technologies’ equipment uses our exclusive source removal duct cleaning process, meaning our equipment captures dirt and debris to provide complete air duct cleaning and decontamination.

Our source removal duct cleaning process is designed to work with the tools professional duct cleaners need to follow the NADCA recommended steps for cleaning air duct systems effectively. Abatement Technologies® DUCT-PRO® equipment is designed for contractors looking to expand their existing business. DUCT-PRO® enables professionals to offer duct cleaning as an add-on service, which can lead to more business opportunities and higher revenue. 

It’s important to understand the role each piece of equipment plays in the process before starting a duct cleaning business. Our team of Aire Guardians at Abatement Technologies® has created a video series to provide users with the key information needed to safely start using DUCT-PRO®. We’ve created a blog series to accompany our training videos and help break down the process for using DUCT-PRO®. In this blog, we’ll discuss the proper accessories and equipment needed for the job as well as the necessary prep work for their optimal performance. 

DUCT-PRO® Accessories & Equipment 

We recommend beginning any duct-cleaning project with personal protective equipment (PPE) including safety glasses and respirators. Additional recommended PPE includes cut-resistant gloves and sleeves to reduce injuries when reaching through ductwork with sheet metal cutouts. 

Once the proper PPE has been identified, it's time to identify which duct cleaning method is right for the job. Our  DUCT-PRO® system uses the state-of-the-art source removal duct cleaning push/pull method. The “push” mechanism is achieved with high-velocity compressed air tools while the “pull” mechanism is accomplished by creating powerful airflow through the air conveyance system with the use of the HEPA-AIRE® portable vacuum included in the DUCT-PRO® package from Abatement Technologies®.

Duct Cleaning Prep Work

Next ensure the furnace, AC, and duct systems are turned off and will remain off for the duration of the project. It’s also good practice to turn off the air handling unit at the thermostat as well as the circuit breaker to prevent accidental startup. It’s important to be aware of, and adhere to, all local regulations regarding gas pilot lights and other utilities before beginning any project.

The duct cleaning professional should conduct a thorough inspection of the project site to identify any potential safety concerns and determine the layout of the ductwork once the systems have been turned off. During this process, the duct cleaning professional will examine the condition of the ductwork and determine the type of air handler used so they can develop a plan for hookup points and air sweeping procedures. It’s important to understand how to clean the supply and return duct networks to avoid pulling debris through the heat exchanger and coil. To separate the supply and return, simply pull out the furnace filter and insert an inflatable zone bag into the air handle to isolate the supply and block airflow. 

Grill masking tape should be used to seal off the registers and increase airflow through the branch being cleaned. It’s important to keep the furthest two or three vents uncovered during this step to allow air into the ductwork to create airflow. The airflow will be inadequate for transferring debris to the power vacuum if all vents are covered.

Our DUCT-PRO® HEPA-AIRE® portable vacuums are designed to pull large volumes of debris through the duct system and filter all of the contaminants before exhausting clean air from the vacuum. For optimal performance, the vacuums should be placed as close to the furnace as possible. 

When the filters become dirty, audio and visual alarm cues will signal that airflow has been reduced and it’s time to change them. Most operators prefer to change the HEPA filter every one to two years of use. 

Check out our next blog post to learn more about duct cleaning with our DUCT-PRO® specialty tools!

Want to learn more about our DUCT-PRO® equipment and packages? Click here - https://abatement.com/usa-duct-cleaning-process/