Abatement Technologies® is the industry leader in quality duct cleaning solutions. Our high-performance DUCT-PRO® packages utilize HEPA-AIRE® equipment to clean HVAC duct systems faster and more efficiently than other methods. Abatement Technologies’ equipment uses our exclusive source removal duct cleaning process, meaning our equipment captures dirt and debris to provide complete air duct cleaning and decontamination. Our source removal duct cleaning process is designed to work with the tools and procedures professional duct cleaners need to follow the NADCA recommended steps for cleaning air duct systems effectively.
We have created a blog series based on our official DUCT-PRO® training videos to guide users through the proper DUCT-PRO® processes and procedures. In our last post, we covered the proper steps for agitation to remove debris and dirt from the ductwork. Here we’ll cover the procedure for cleaning the return.
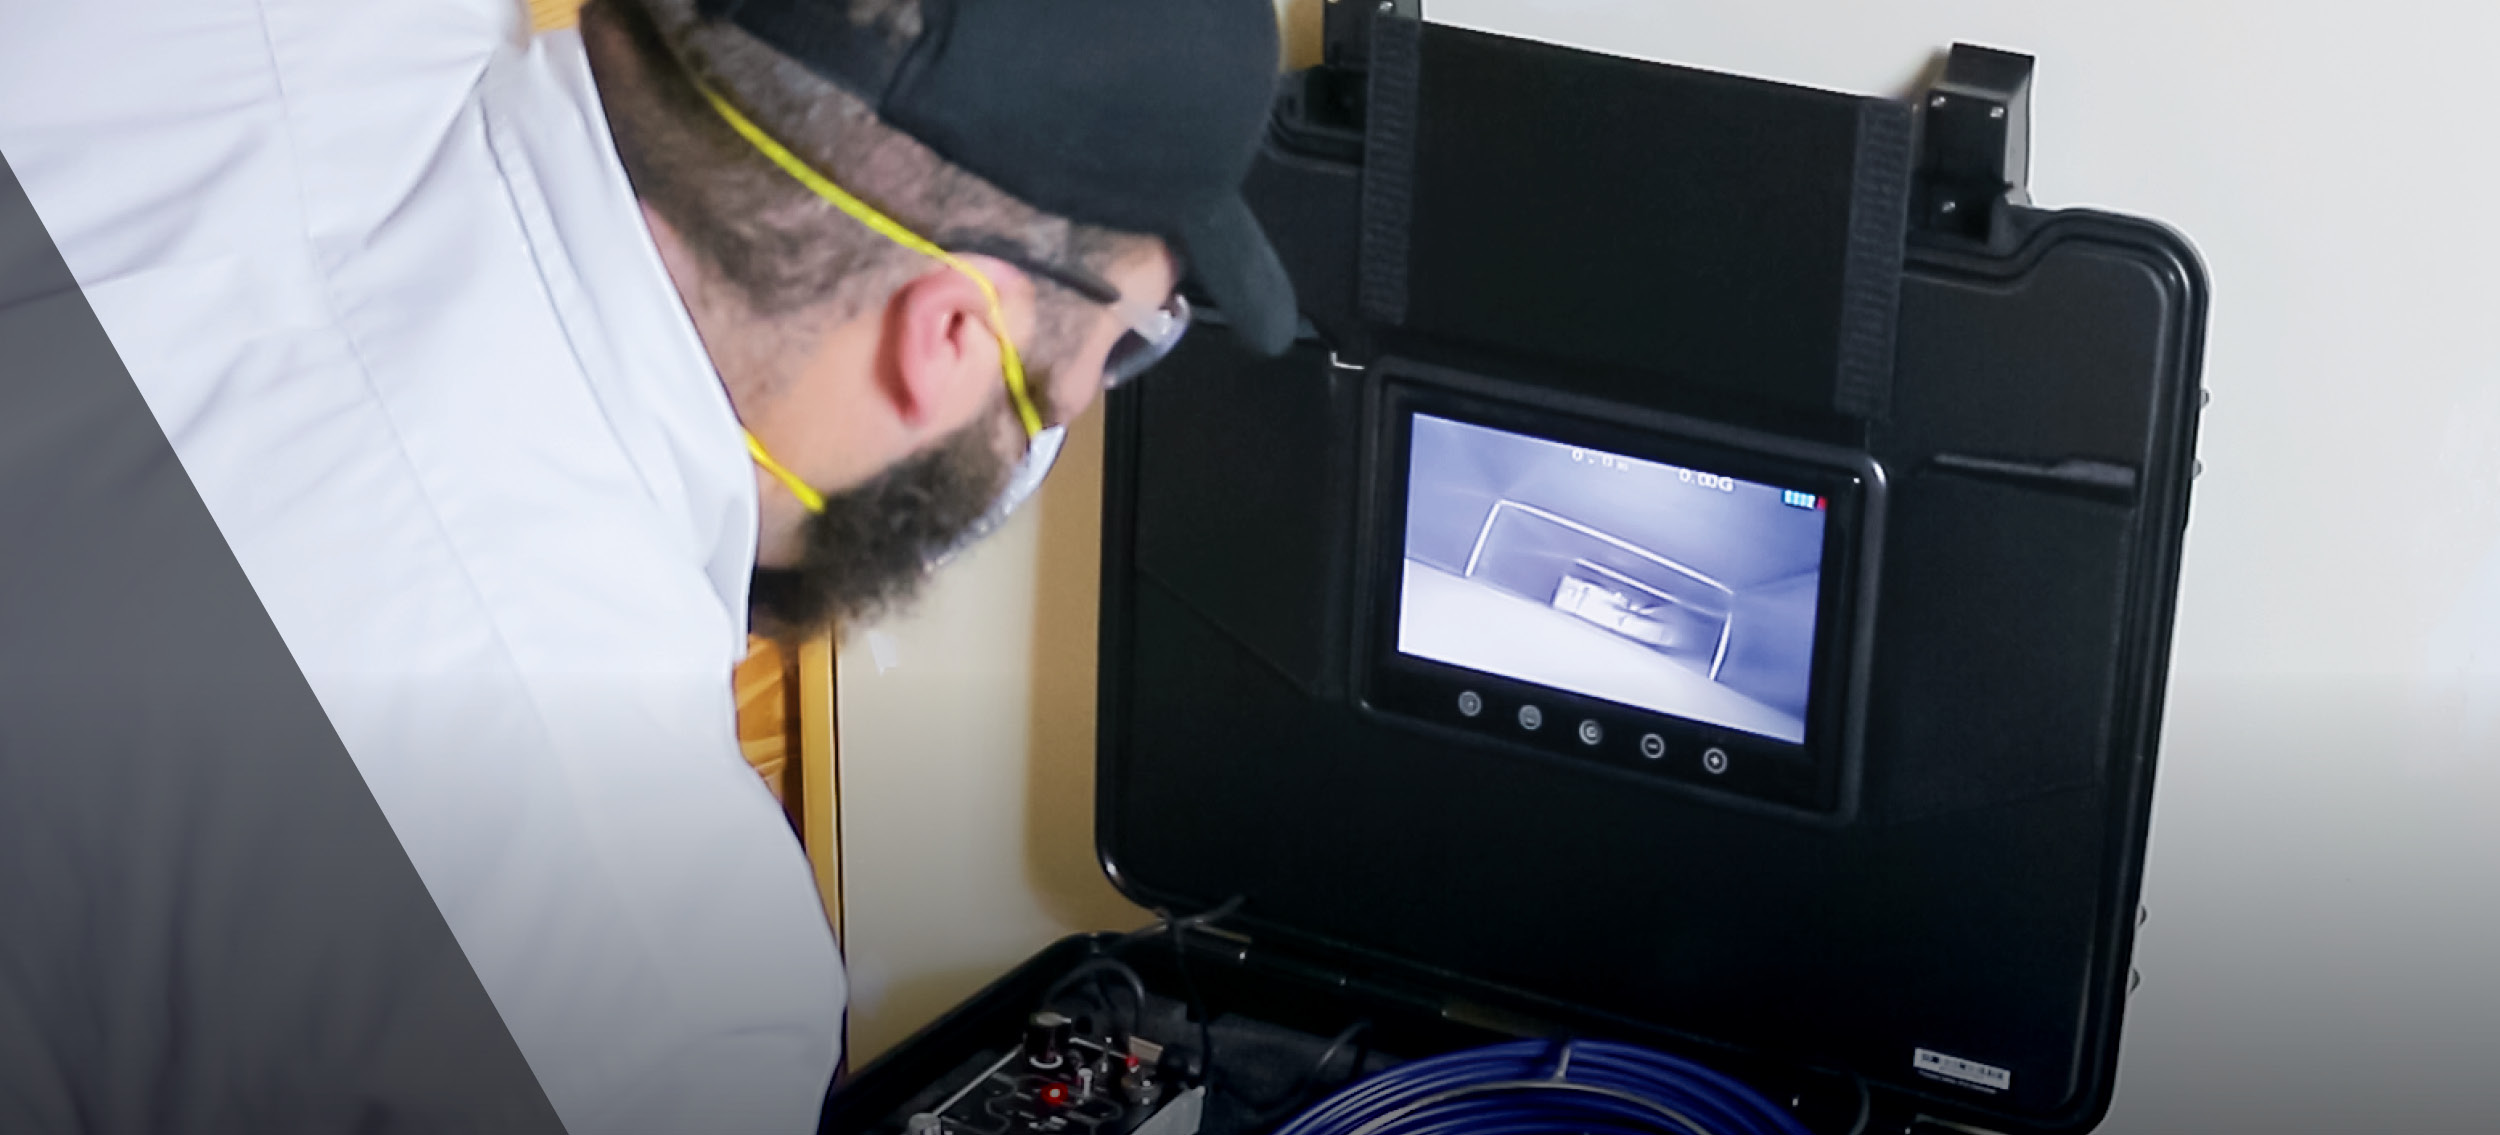
Attaching the Vacuum
Check the power vacuum filters after the supply system has been cleaned and clean or replace them if necessary. It’s also a good idea to check the moisture filter and drain it if needed. After examining these areas inspect the ductwork and furnace layout to determine the best locations for hookups. Taking the time to complete this step now will save time later in the process.
To attach the vacuum, the duct cleaning professional will cut a hole in the return plenum on the upstream side of the filter and then attach the quick connect collar. The filter should be removed if it is upstream from the vacuum hose. Then the zone bag can be put in the main duct above the coil, preventing air from being pulled through the previously cleaned supply side of the system.
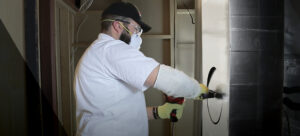
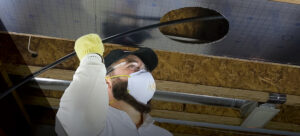
Cleaning the Return
The return duct system should be cleaned using the same procedures that were used on the supply side. Duct cleaning pros should keep in mind that return systems are typically much dirtier than the supply side and require more brushing and air sweeping. It’s important to properly clean the equipment after use. Place the air hose from the power vacuum in the blower compartment and air wash the blower compartment with the DUCT-PRO® air booster gun when all the duct work has been completely cleaned.
Sanitizing can begin once the return is clean, it’s important to read the label and follow the manufacturer’s directions accurately before using any sanitizer. Be certain the product has an EPA registration for its intended purpose, follow the manufacturer’s recommendations regarding personal protective equipment (PPE), and ensure all grills and registers are covered before sanitizing. Adding a drop cloth around the work area to prevent damage to the flooring surfaces is also a good idea.
Air Duct Sanitizing
These instructions are for non-porous duct systems. Due to the porosity of the material, there are no sanitizers with EPA registration for use in porous ductwork such as duct board or lined duct.
The sanitization process is generally conducted using a ULV fogger which produces a variable flow from light fog to a heavy mist, adjusted at the nozzle. The correct output is a mist that will quickly wet the entire surface without creating puddles.
A good practice is to fog the branch runs with slight negative pressure in the duct system. This not only helps pull the fog through the ductwork but also helps to prevent the sanitizer from entering the room, and can be accomplished by attaching the vacuum to the original hookup point. If the duct system is small, adjust the airflow of the DUCT-PRO® HEPA-AIRE® vacuum for better coverage before fogging. Allow all surfaces to dry before restarting the air handler.
Want to learn more about our DUCT-PRO® equipment and packages? Click here - https://abatement.com/usa-duct-cleaning-process/